One of the best ways to improve the curb appeal of your home is to paint your front door. A fresh coat of paint will give your home a much-needed facelift. But what color shall you choose? Do you need to remove the door before painting it? Read the following article to find out how to paint exterior doors.
We have gathered tips on painting exterior doors from experts. Fiberglass doors often look better with a stain or lacquer finish. But if you prefer paint to stain, you can use this guide on fiberglass doors as well.
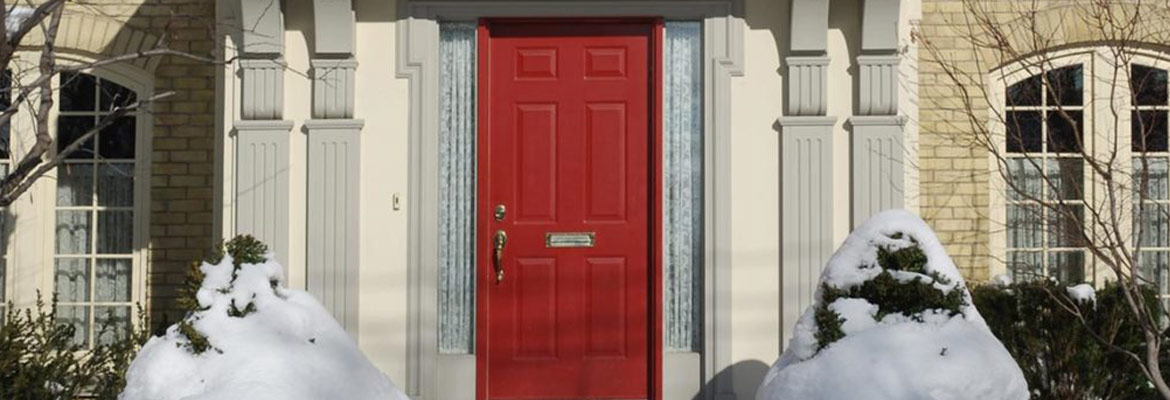
How to Paint Exterior Doors
Choosing a Paint Color
The best way to choose a paint color for your exterior doors is to tape paint chips to the existing door. Keep them on for a while so you can observe the color under different types of lighting to see if the color changes as the light dims or brightens. Always check to see if the paint is safe to use on the door before purchasing it.
Materials:
- High-density foam mini rollers and paint brushes
- Fine-grit sandpaper
- Sponge
- Painters tape
- Drop cloth
- Adhesion primer (approx 1 qt)
- Satin or semigloss exterior paint (1-2 qt)
- Tack cloth
Tip: If you are painting outside, avoid painting in direct sunlight, as the paint will dry too quickly.
Step 1: Remove The Entry Door
Carefully remove the door and place it in a well-ventilated area. Prep the area by placing a drop cloth and securing the door on sawhorses. Make sure the door is flat to avoid paint drips and runs. Using a screwdriver, remove the hinges and any hardware. Carefully cover any glass windows or accents with painter’s tape to avoid getting paint on the glass or otherwise damaging it.
Step 2: Sand The Surface of The Door
Sanding the door will remove years of built-up paint, dirt, and debris as well as smooth the surface out for an even finish. Scrub the surface of the door with a wet sponge. Use fine-grit sandpaper to remove any dirt or rough spots. Next, use a clean damp sponge or tack cloth to remove any remaining debris.
Step 3: Prime The Door
Using a foam roller, apply the adhesion primer with even strokes. Switch to a foam brush for any depressed or raised areas. Allow drying at least 24 hours before the next step.
Step 4: Paint The Door
Finally, you can begin to apply the paint. Follow these steps for paneled exterior doors:
- Using a small foam paintbrush, paint the trim around the panels.
- Use a roller to paint depressed or raised panels.
- Paint the horizontal sections.
- Paint the outermost vertical areas.
- Paint the innermost vertical side (facing the doorway).
Allow the paint to dry completely before applying a second coat to give it an even and flawless finish. You can hand sand the door between the first and second coats as well as after priming to remove any excess paint and smooth out the surface. Do not forget to wipe it down with a damp cloth to remove any debris. Do not sand until the primer or paint is totally dry.
Step 5: Reinstall The Entry Door
Once the final coat of paint is completely dry, you can carefully reattach the door to the door frame. Then you can reattach any hardware or other components. Add some seasonal decorations to give your door a homey and welcoming vibe!